Getting Started
Prepare a trusted workspace, install the right software, and follow the device’s own prompts in order.
INDEPENDENT SETUP GUIDE 8 MIN READ
A thoughtful first step toward taking control of your digital assets. Learn what to prepare, how to verify your device, and which security habits matter long after setup.
Read the guideIndependent educational resource. Not affiliated with or endorsed by Ledger.
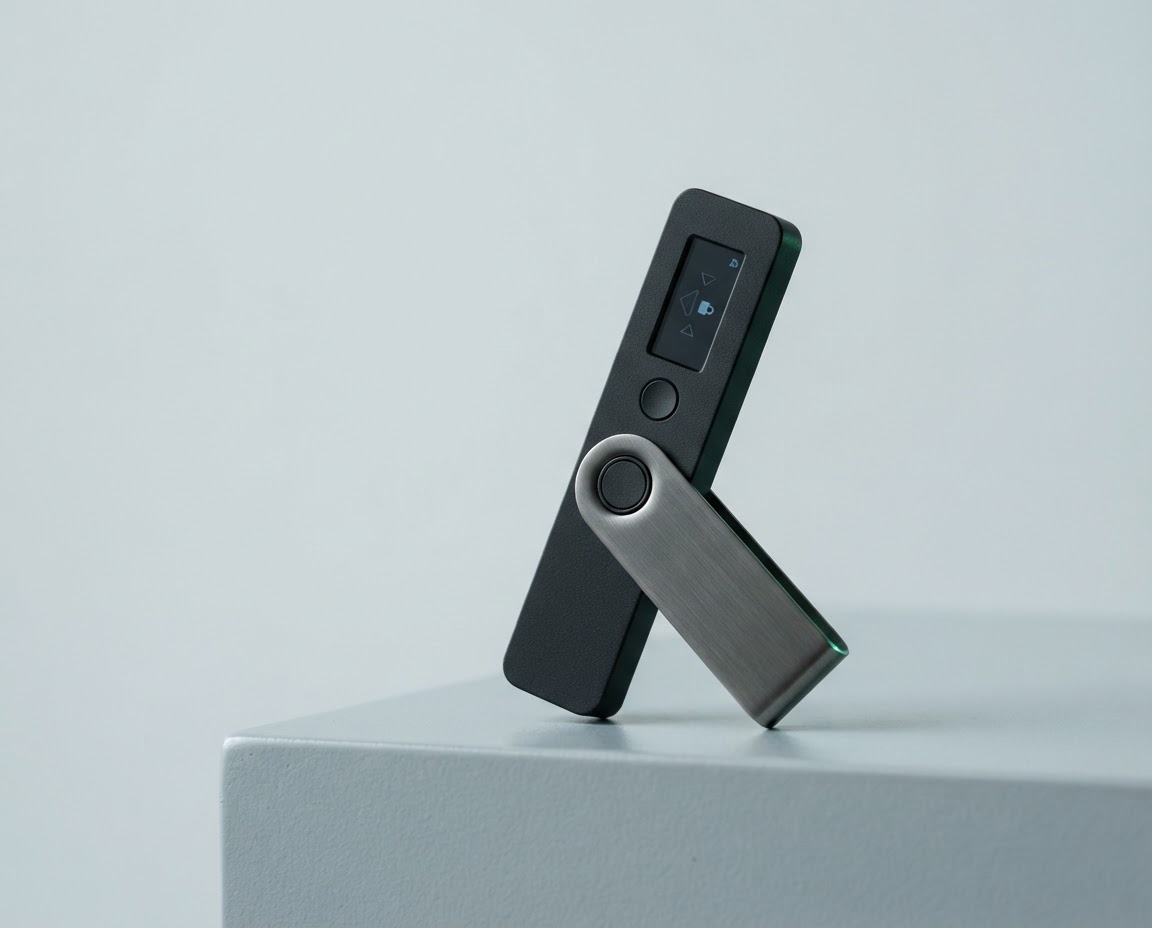
A CALM START, A SAFER ROUTINE
Setting up a hardware wallet is less about moving fast and more about making careful choices. This guide brings the practical steps and the security mindset together.
Prepare a trusted workspace, install the right software, and follow the device’s own prompts in order.
Verify what you install, protect your recovery phrase, and take your time with every approval.
A few minutes of preparation can prevent costly mistakes. Begin with the hardware wallet you acquired through a source you trust. Check the packaging and device for obvious damage, but remember that packaging appearance alone cannot prove authenticity. The device’s own authenticity checks are more meaningful.
Choose a private, quiet place and a computer or phone you control. Update its operating system, use a reputable security tool, and avoid shared or public devices and networks. Navigate to the manufacturer’s website by typing the address yourself or using a trusted bookmark; do not follow setup links in unsolicited messages, search ads, or pop-ups.
Plan for uninterrupted time. You will need a secure place to write down recovery information, and you should not be rushed into revealing it to anyone.
A legitimate setup flow should never ask you to send your recovery phrase to support or enter it on an unfamiliar website.
Install the wallet’s companion application only from the manufacturer’s verified source or official app store listing. Check the publisher name and address carefully. Connect or power on the device and follow its on-screen instructions to initialize it as a new wallet. Menu names and button sequences can differ by model, so the supplied instructions and device display should take precedence over generic tutorials.
Set a device PIN if prompted. Choose one you can remember without making it easy to guess, and understand what happens after repeated incorrect attempts. Confirm each setup choice directly on the hardware device, not solely in the computer application.
When ready to receive assets, use the wallet application to display a receiving address, then compare the complete address shown in the app with the address confirmed on the device screen. If even one character differs, stop. Do not send a meaningful amount until you have checked the address and understand the network and asset involved.
During setup, use the companion app’s genuine-device or authenticity verification feature if available. Read the result on screen and resolve any warning through the manufacturer’s published support channels. A device that arrives with a prewritten recovery phrase, asks you to use a phrase supplied by a seller, or directs you to a QR code to “activate” it deserves caution.
Keep software up to date, but verify updates through the application or official support instructions rather than links sent by strangers. Treat unsolicited help as a potential scam. Support staff do not need your recovery phrase, PIN, or remote access to your computer to troubleshoot a wallet.
This guide is general education, not a guarantee that any particular device or transaction is safe. Verify instructions for your exact wallet model and current software version.
Your recovery phrase is the master backup for the wallet. Anyone who obtains it may be able to control the associated assets, even without the physical device. Write the words down exactly as the device presents them and complete any verification exercise the device requires. Never photograph, screenshot, email, message, or store the phrase in cloud notes or a password manager.
Keep the written backup private and protected from theft, fire, water, and accidental disposal. Consider what happens if you are unavailable, without sharing the phrase casually. A second secure physical backup can reduce the risk of loss, but creates another copy that must be protected. Do not make a digital copy for convenience.
If a phrase is exposed, assume the wallet is compromised. Use a safe device to create a new wallet and move assets to addresses controlled by its new recovery phrase, after carefully verifying destination details. Seek trusted, model-specific guidance if uncertain.
Make deliberate approvals a routine. Before confirming a transaction, inspect the recipient, amount, network, and any contract details on the hardware device’s display. If you cannot interpret what it asks you to approve, cancel and learn more first. A connected app can prepare a transaction; it should not replace your own review.
Use bookmarks for trusted wallet resources and be wary of lookalike domains, fake support accounts, giveaways, urgent warnings, and unexpected requests to “synchronize” a wallet by entering its phrase. Keep your PIN and recovery backup private. Protect the devices you use to manage the wallet with updates, screen locks, and unique passwords.
For larger balances, practice receiving and sending a small test amount, accounting for network fees, before a larger transfer. Store backups separately from the device and review your recovery plan periodically—without typing the phrase into a computer to test it.
THE QUICK ANSWERS
Clear answers for the moments that can feel uncertain.
Digital assets are recorded on their respective networks. A hardware wallet protects the private keys used to authorize transactions; it does not hold coins like a physical wallet holds cash.
A replacement compatible wallet can restore access using your recovery phrase. This is why the phrase must remain accurate, private, and available to you. Never share it during a recovery attempt.
In ordinary setup and support, no. Entering it into a website, chat, or computer can expose it. Follow only the exact device-specific recovery process when restoring a wallet, and be cautious of any unexpected prompt.
Cancel. Do not send funds. Disconnect if needed, check for suspicious software, and seek help through a support channel you reached independently.
No. Start only when you understand the asset and network, and consider a small test transfer first. Transactions may be irreversible, so independently verify the details.
A LAST LOOK BEFORE YOU GO
Use this short checklist as a reminder—not a substitute for the instructions for your exact device.
Trusted source and private, updated setup device.
Companion software verified from its official source.
Device authenticity check completed where available.
Recovery phrase recorded offline and kept secret.
Receiving address checked on the device screen.
Transaction details reviewed before every approval.
Self-custody is an ongoing practice. When something feels urgent, unfamiliar, or too good to be true, pause and verify.